

How to Edit in Photoshop.
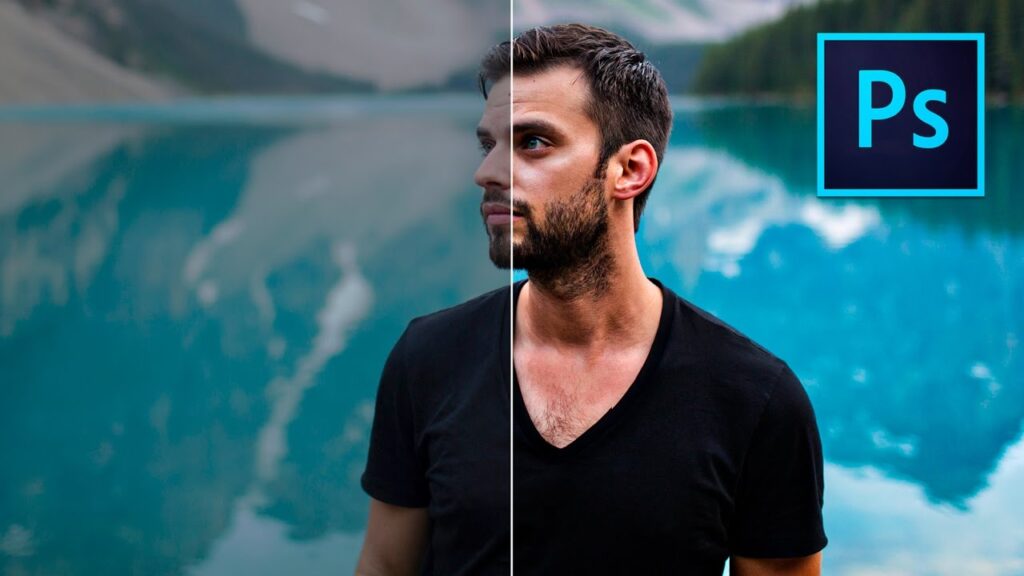
Photoshop is a necessary tool for photographers and graphic designers. This article will guide you through editing images using Adobe Photoshop. With more than 25 years of experience in the photography world, we assure you that mastering Photoshop can unlock infinite possibilities to achieve spectacular photos. In this tutorial, we will provide you with practical guidance on how to edit in Photoshop to achieve your desired results.
Understanding Photoshop.
Before we dive into the editing process, we must understand Photoshop’s interface. Photoshop has a complex interface with many tools and options. It may seem daunting at first, but you will become more familiar with the software with time.
Getting Started with Photoshop.
To start editing images in Photoshop, you need to open the software and create a new document. In Photoshop, you can create a new document by selecting “File” > “New” in the menu bar or using the shortcut key “Ctrl+N” (Windows) or “Cmd+N” (Mac).
Understanding Layers.
Layers are one of the essential features of Photoshop. Layers allow you to stack multiple images on top of each other, making it easier to edit individual parts of an image. To create a new layer, go to the “Layers” panel on the right-hand side of the screen and click on the “New Layer” button.
Understanding Tools.
Photoshop has numerous tools that can be used to edit images. Some of the most commonly used tools include the “Brush Tool,” “Eraser Tool,” “Lasso Tool,” and “Clone Stamp Tool.” Each tool has its unique function and can achieve different effects.
Basic Image Editing in Photoshop.
In this section, we will cover some of the basic editing techniques in Photoshop.
Cropping an Image.
Cropping is the process of removing unwanted parts of an image. To crop an image in Photoshop, select the “Crop Tool” from the toolbar on the left-hand side of the screen. Use the tool to choose the area of the image you want to keep and press “Enter” to apply the changes.
Adjusting Image Brightness and Contrast.
Adjusting the brightness and contrast of an image can dramatically improve its overall appearance. To change the brightness and contrast in Photoshop, select “Image” > “Adjustments” > “Brightness/Contrast” from the menu bar. Use the sliders to adjust the brightness and contrast as desired.
Removing Blemishes.
Photoshop can be used to remove blemishes and other imperfections from an image. To remove marks, select the “Spot Healing Brush Tool” from the toolbar on the left-hand side of the screen. Use the tool to choose the blemish, and Photoshop automatically removes it.
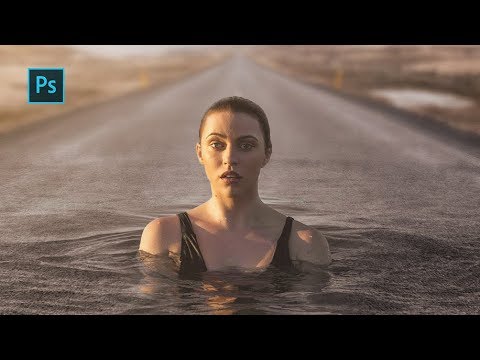
Advanced Image Editing in Photoshop.
In this section, we will cover some of Photoshop’s more advanced editing techniques.
Removing the Background of an Image.
Removing the background of an image can be helpful when you want to place an image on a different background. To remove the location of an image in Photoshop, select the “Magic Wand Tool” from the toolbar on the left-hand side of the screen. Use the tool to choose the background and press “Delete” to remove it.
Adding Text to an Image.
Photoshop can also be used to add text to an image. To add text, select “Type Tool” from the toolbar on the left-hand side of the screen. Use the tool to create a text box and enter your desired text. You can adjust the font, size, and color of the text using the options in the menu bar.
Author Profile
Latest entries
- December 30, 2023Photo PrintsDigital Art Laminated in Glass or Acrylic: Why Galleries and Artists Prefer the Shimmering Shield
- December 30, 2023Photo PrintsDPReview’s Year in Review
- October 5, 2023Photo PrintsAI Photo and Decoration: The Future of Displaying Memories
- October 5, 2023Photo PrintsHome Decoration: Elevating Interiors with Glass Photo Prints