
Introduction.
How to Hang Pictures on Walls.
Hanging pictures on walls is a great way to add personality and character to your home or office. However, getting started can be daunting if you’re unfamiliar with the process. In this comprehensive guide, we’ll cover everything you need to know to hang pictures on walls easily. From choosing the proper hardware to arranging your pictures, you’ll be a picture-hanging pro in no time!
Table of Contents.
- The Benefits of Hanging Pictures on Walls
- Choosing the Right Hardware
- Measuring and Marking Your Wall
- Determining the Best Placement for Your Picture
- Hanging Your Picture with Nails
- Hanging Your Picture with Hooks
- Arranging Your Pictures
- Using Picture Hanging Strips
- Hanging Large or Heavy Pictures
- Hanging Pictures on Different Wall Types
- Tips and Tricks for Picture Hanging
- Common Mistakes to Avoid
- Frequently Asked Questions (FAQs)
- The Benefits of Hanging Pictures on Walls
Hanging pictures on walls can enhance the aesthetics of your space by adding a personal touch. It is also an effective way to showcase your art collection, photographs, or family portraits. Moreover, pictures on walls help to break the monotony of blank walls, making your space look more inviting and welcoming.
Choosing the Right Hardware.
Choosing the proper hardware is critical when hanging pictures on walls. You need to consider the weight of your picture, the type of wall you are hanging it on, and the hardware’s durability. Some of the hardware options available include:
- Nails: These are the most common and affordable picture-hanging hardware. They are best for small or lightweight pictures.
- Picture hooks: Picture hooks are best for medium-weight pictures. They come in various sizes and shapes; you can choose the one that suits your picture’s weight.
- Picture hanging strips: These are perfect for turning lightweight pictures. They are ideal for renters because they won’t damage walls.
- Wall anchors: Wall anchors are best for hanging large or heavy pictures. They provide extra support to prevent the print from falling.
Measuring and Marking Your Wall.
Before you hang your picture, you must measure and mark the wall to ensure proper placement. Here are the steps to follow:
- Determine where to hang your picture and use a pencil to mark the spot.
- Measure the distance from the top of your picture to the hanging hardware.
- Subtract this measurement from the height of your picture to determine where you need to place the nail or hook on the wall.
- Measure the distance between the hanging hardware on your picture and mark it on the wall.
- Use a level to ensure that your marks are straight.
- Determining the Best Placement for Your Picture
The placement of your picture is critical to its overall impact on your space. Here are some tips to consider when determining the best placement for your image:
- Hang pictures at eye level: The center of your image should be at eye level (about 57 inches from the floor).
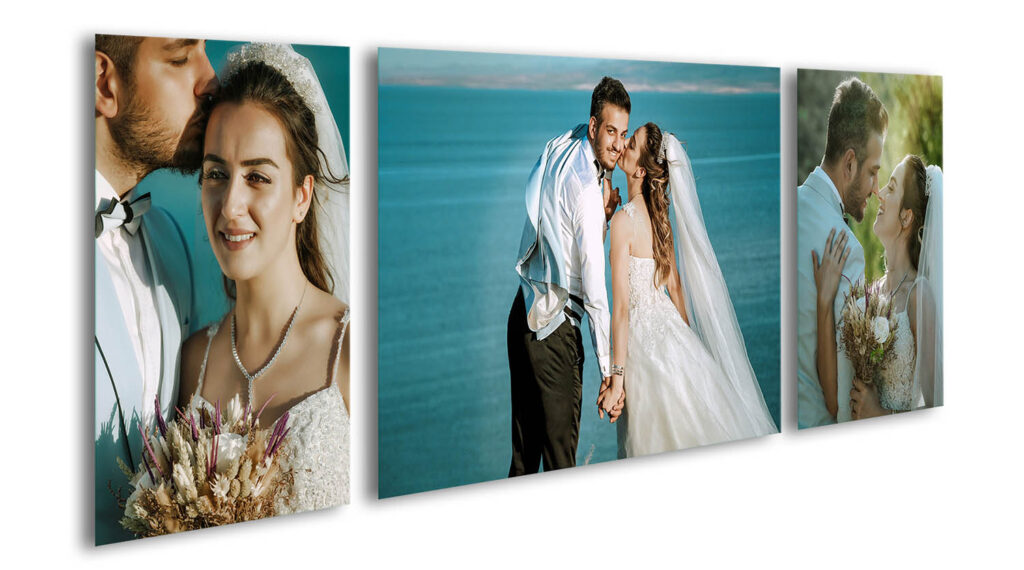
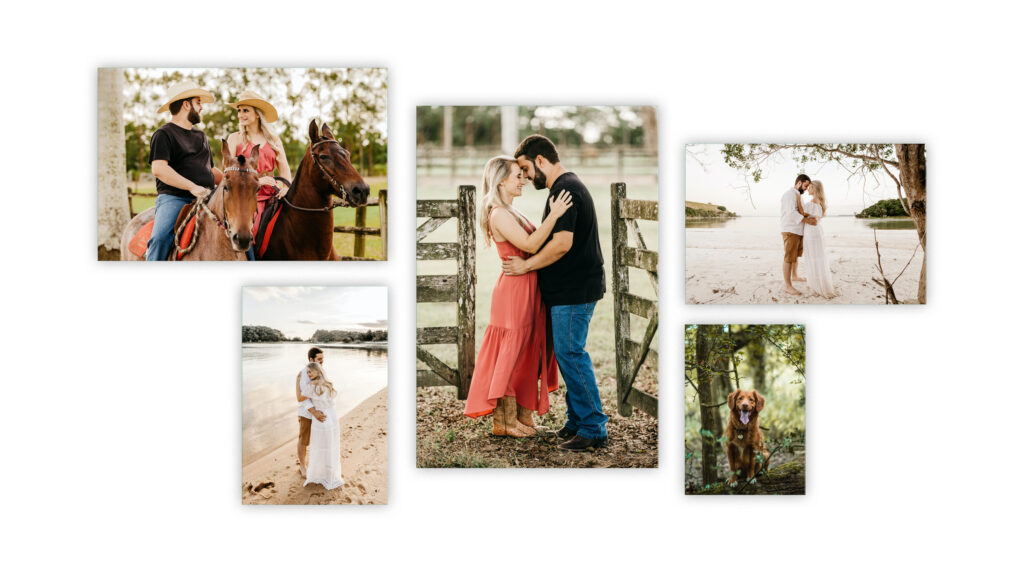
- Create a gallery wall: A gallery wall is a collection of pictures arranged in a visually appealing way. You can create a gallery wall using photographs of different sizes and shapes.
- Consider the surrounding decor: The picture you hang on your wall should complement the surrounding scenery. For instance, a bold picture can be a great focal point if you have minimalist space.
Hanging Your Picture with Nails.
Hanging pictures with nails is a straightforward process. Here’s how to do it:
- Hold your picture against the wall at the desired height and make a mark on the wall with a pencil where the top of the picture is.
- Hammer a nail into the wall at the mark you made earlier.
- Hang your picture on the nail.
- Adjust the picture as needed to make it level.
- If the picture is tilted, remove it from the nail and adjust the placement of the pin accordingly.
- Hanging Your Picture with Hooks
Picture hooks can be a great option if you are hanging a medium-weight picture. Here’s how to do it.
- Hammer the image hook into the wall at the mark you made earlier.
- Hang your picture on the hook.
- Adjust the photo as needed to make it level.
- Arranging Your Pictures
Arranging your pictures can be a fun and creative process. Here are some tips to consider when putting your pictures:
- Group pictures by theme: Grouping pictures by theme can create a cohesive and visually appealing display.
- Use odd numbers: Arranging pictures in odd numbers can create a balanced and aesthetically pleasing presentation.
- Create a focal point: Use a large picture as a focal point and arrange smaller pictures around it.
Using Picture Hanging Strips.
Picture hanging strips are perfect for hanging lightweight pictures without damaging walls. Here’s how to use them:
- Clean the wall with rubbing alcohol and let it dry.
- Peel the backing of the picture hanging strip.
- Press the sticky side of the strip onto the back of your picture.
- Peel the backing off the other side of the strip and press the picture onto the wall.
- Hanging Large or Heavy Pictures
If you’re hanging a large or heavy picture, use wall anchors. Here’s how to do it:
- Drill a hole into the wall at the mark you made earlier.
- Insert the wall anchor into the hole.
- Screw the hook into the wall anchor.
- Hang your picture on the hook.
- Hanging Pictures on Different Wall Types
Different wall types require different hardware for picture hanging. Here are some tips to consider:
- Drywall: Use nails, picture hooks, or wall anchors.
- Plaster: Use wall anchors or picture hooks.
- Brick or concrete: Use a masonry drill bit and wall anchors.
- Tips and Tricks for Picture Hanging
Here are some additional tips and tricks to make picture hanging easier:
- Use a laser level to ensure your pictures are straight.
- Create a template to ensure consistent spacing between pictures.
- Use a stud finder to locate wall studs for extra support.
- Common Mistakes to Avoid
Here are some common mistakes to avoid when hanging pictures:
- We need to measure or mark the wall properly.
- You are using the wrong hardware for your picture’s weight.
- I am hanging pictures too high or too low.
- I am hanging pictures in a cluttered or haphazard way.
Conclusion
Hanging pictures on walls can be a fun and rewarding process. Following the tips and tricks in this guide, you can create a visually appealing and cohesive display of your favorite pictures. Remember to choose the proper hardware, measure and mark your wall correctly, and consider the surrounding decor when arranging your photos. Happy picture hanging!
FAQs
- Can I use double-sided tape to hang pictures on the walls?
- Double-sided tape is not recommended for hanging pictures because it needs to be more vital to support the weight of most pictures.
- How do I remove picture hanging strips from walls without damaging them?
- Pull the strip downwards while holding the picture and follow the package instructions to remove any remaining adhesive residue.
- Can I hang pictures without nails?
- You can use picture hanging strips or adhesive hooks to hang pictures without nails.
- How do I hang pictures on a brick wall?
- It would help if you used a masonry drill bit and wall anchors.
Author Profile

Latest entries
- December 30, 2023Photo PrintsDigital Art Laminated in Glass or Acrylic: Why Galleries and Artists Prefer the Shimmering Shield
- December 30, 2023Photo PrintsDPReview’s Year in Review
- October 5, 2023Photo PrintsAI Photo and Decoration: The Future of Displaying Memories
- October 5, 2023Photo PrintsHome Decoration: Elevating Interiors with Glass Photo Prints